Vintage Car 3D Wooden Puzzle Kit: Retro Build & Display
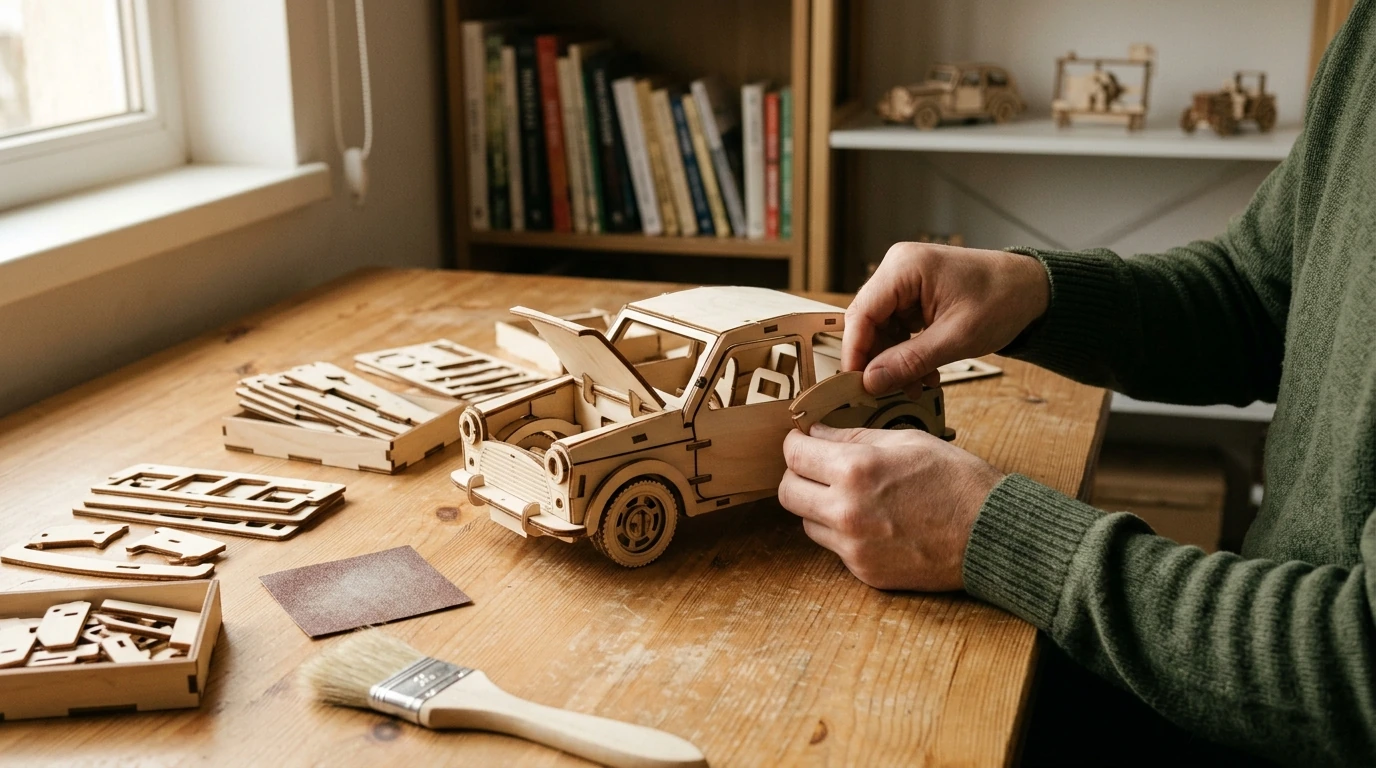
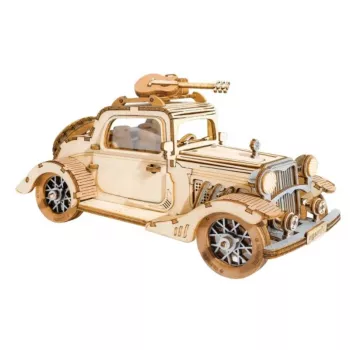
A classic car silhouette in wood brings together the calm focus of model building and the charm of vintage design. This 3D wooden puzzle kit suits hobbyists, gift-givers, and families looking for a screen-free project that ends with a display-worthy keepsake.
What Makes a Vintage Car Wooden Model So Satisfying
There’s something uniquely rewarding about turning flat wooden sheets into a recognizable vintage car you can hold, show off, and enjoy. Unlike a standard jigsaw, a 3D wooden puzzle gives you a clear “build arc”—each step adds structure until the model suddenly looks like a real little automobile.
- Blends puzzle-solving with light crafting: interlocking parts click into place and create an instantly recognizable car form.
- Vintage styling adds character: the retro silhouette looks right at home on a bookshelf, desk, or hobby corner.
- A practical break from screens: it’s hands-on, focused, and still feels productive.
- Flexible for solo or shared time: enjoyable as a quiet personal build or a weekend project with family.
Vintage Car 3D Wooden Puzzle Kit: Quick Overview
If you’re looking for a budget-friendly build-and-display project, this kit keeps it simple: assemble, admire, and optionally personalize once it’s complete.
At-a-Glance Details
| Item | Details |
|---|---|
| Name | Vintage Car 3D Wooden Puzzle Kit |
| Price | $13.51 (USD) |
| Availability | In stock |
| Product page | https://keycatchmart.shop/vintage-car-3d-wooden-puzzle-kit/ |
What’s Included and What You’ll Need
The kit includes wooden puzzle components designed to assemble into a 3D vintage car shape. Most builders find that a few simple setup choices make the whole process smoother and more relaxing.
- Wooden components: pre-cut pieces intended to interlock into a complete car model.
- A clean workspace: helps keep small parts visible and prevents “mystery missing pieces” from sliding off the table.
- Optional, helpful extras: fine sandpaper or an emery board (to smooth tight tabs), a small amount of wood glue (only if you want extra hold), and a small brush for dusting.
- Good lighting: reduces misalignment and makes detail work more enjoyable.
For general guidance on small parts and age-appropriate use, the U.S. Consumer Product Safety Commission (CPSC) toy safety resource is a helpful reference point.
How the Build Typically Goes (From Parts to Display Piece)
Wooden model building rewards a steady pace. A few practical habits can reduce frustration and help the finished car sit straight, roll cleanly (if applicable), and look crisp from every angle.
- Sort pieces first: group by shape/size so you’re not repeatedly hunting for the next match.
- Dry-fit before pressing fully: align parts gently, then seat them—this helps prevent split tabs and crooked angles.
- Start with structure, then detail: build the body/frame first, then move to wheels and trim-like elements.
- Take short breaks: steady hands and patience usually improve the final look more than rushing does.
- Final check: make sure all interlocks are evenly seated so the model stands true on a flat surface.
If you enjoy the history behind classic shapes and styling cues, browsing the Smithsonian’s collection entries on antique and classic automobiles can add a little extra inspiration for how to display or finish your model.
Skill Level, Age Guidance, and Safety Notes
This type of kit is approachable, but careful handling makes a difference—some parts can be small or delicate, and tight fits are common in wooden interlock builds.
- Skill level: best results come from patient assembly and gentle pressure rather than force.
- Age guidance: for younger builders, adult supervision is recommended to help with snug connections and small components.
- If using glue or finishes: follow the product’s safety directions and allow proper ventilation.
- Storage: keep leftover parts and the finished model away from toddlers and pets.
Ways to Personalize the Finished Vintage Car
One of the best parts of a wooden car model is that it can look “finished” straight out of the box—or become a small creative canvas.
- Keep the natural wood look: clean, classic, and warm—great for minimal décor.
- Add light stain or paint: a custom “garage find” vibe (test on a spare edge or hidden area first).
- Create a simple display base: a wood plaque, faux cobblestone paper, or a small nameplate can make it look museum-ready.
- Use it as themed décor: office desk accent, bookshelf centerpiece, or a fun gift topper for car enthusiasts.
Gifting Ideas and When It’s a Perfect Fit
Care, Storage, and Display Tips
Where to Get the Vintage Car 3D Wooden Puzzle Kit
Check current pricing, availability, and product details on the official listing for the Vintage Car 3D Wooden Puzzle Kit. For a fun paired project, consider ordering two—one kept natural and one finished with stain or paint.
- 18K Gold Custom Alphabet Initial Necklace (a personalized touch for birthdays and holidays)
- Square Moissanite Diamond Stud Earrings (a classic add-on for milestone gifting)
FAQ
Does the kit require glue or special tools?
Many wooden 3D puzzles are designed to interlock without special tools or adhesives. Glue can be used optionally for reinforcement, and a bit of fine sandpaper plus good lighting can make assembly easier.
Is this a good gift for someone who hasn’t built a 3D wooden model before?
Yes—this style of kit is generally approachable and relaxing, especially when the builder takes time to sort pieces and dry-fit connections. For younger or first-time builders, having an extra set of hands nearby can help with tight fits.
How can the finished model be displayed without getting dusty or damaged?
Place it on a shelf or desk away from humidity and direct sunlight, or use a small display case if you prefer minimal dust. Light dusting with a soft brush and occasional checks for loose joints will help it stay looking sharp.








Leave a comment