2L Pro Smoothie Blender: Stainless Steel Blades Guide
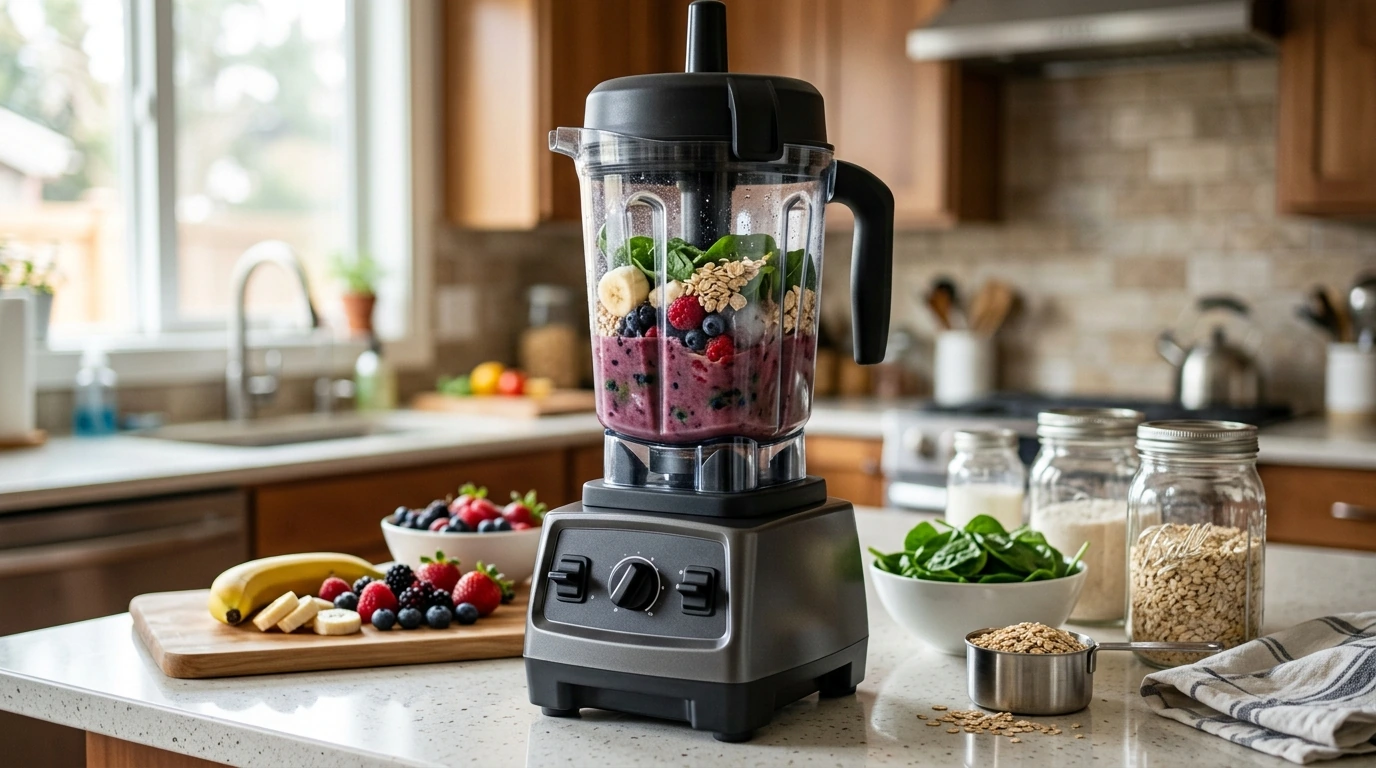
2L Professional Smoothie Blender with Stainless Steel Blades: Power, Capacity, and Everyday Reliability
A professional-style smoothie blender should handle frozen fruit, ice, and fibrous greens without bogging down, while staying easy to clean and safe to use daily. This guide breaks down what matters most—blade material, jar capacity, control options, noise and stability, and practical care—so it’s clear whether a 2L stainless-steel-blade blender fits a busy kitchen, family routines, or meal-prep habits.
What “Professional” Performance Looks Like in a Smoothie Blender
“Professional” can mean different things depending on the kitchen, but for smoothies it typically comes down to repeatable results under real-world load—frozen produce, ice cubes, sticky nut butters, and greens that love to cling to the jar.
- Consistent texture: fewer unblended chunks, less grit from greens, and the ability to get a smooth, spoonable blend when making thicker smoothie bowls.
- Torque and momentum: strong blending action that pulls ingredients into the blades instead of spinning a hollow vortex that leaves chunks riding the walls.
- Heat management: short bursts and pulse control help limit warming, keeping cold drinks tasting fresher and more “just blended.”
- Stability under load: a solid base and secure jar seating reduce wobble when crushing ice or blending dense mixtures like oats plus frozen fruit.
Why Stainless Steel Blades Matter for Smoothies
Blade material is one of the quiet “make-or-break” details. Smoothies frequently involve hard and abrasive ingredients, plus a lot of moisture and acidity—conditions that can shorten the life of softer blade metals.
- Edge durability: stainless steel typically resists dulling better than many softer metals when used repeatedly on ice and frozen ingredients.
- Corrosion resistance: helps reduce rust risk when blades are regularly exposed to moisture and acidic foods like citrus, pineapple, and berries.
- Hygiene: smooth metal surfaces are easier to rinse thoroughly; prompt cleaning helps prevent residue buildup around the blade assembly.
- Practical tip: avoid leaving acidic blends sitting in the jar for long periods; a quick rinse soon after use helps reduce staining and lingering odors.
Blade and Ingredient Match-Up
| Ingredient type | Common challenge | Helpful approach |
|---|---|---|
| Frozen fruit & ice | Hard, loud blending; uneven chunks | Use pulse to start, then run at higher speed until the sound evens out |
| Leafy greens | Stringy texture; floating leaves | Add liquid first, then greens, then heavier items on top |
| Nut/seed add-ins | Grit and specks | Blend longer at steady speed; scrape sides if needed |
| Thick mixes (protein, oats) | Stalling or air pockets | Add liquid gradually; stop and stir if a pocket forms |
2L Capacity: Who It’s Best For
A 2L jar changes the rhythm of daily blending. Instead of making one smoothie at a time, you can produce multiple servings in a single run—especially useful when mornings are tight or when the blender is doing more than just drinks.
- Family servings: a 2L jar can handle multiple portions at once, reducing repeat blending cycles and cleanup rounds.
- Meal prep: batch smoothies, sauces, or soup bases and store in sealed containers for the next day (or freeze in portions for later).
- Entertaining: easier to make larger blends like frozen mocktails, smoothie bowls, and party dips without stopping to refill.
- Counterspace reality check: larger jars usually need more vertical clearance under cabinets and can be bulkier to store.
To avoid overflow, don’t fill to the brim—frozen ingredients shift as they break down, and thick blends can surge upward once they start circulating.
Everyday Use: Controls, Pulse, and Consistency
Even powerful blenders perform better with a repeatable routine. The goal is steady circulation—ingredients should fold into the blade zone instead of hovering above it.
- Start low, finish strong: begin at a lower setting so ingredients “catch,” then increase speed to refine texture.
- Pulse for control: quick bursts help crack ice, dislodge stubborn pockets, and prevent over-blending (especially for thicker smoothies).
- Layering method: liquids first, then soft ingredients, then frozen items and ice last to support circulation.
- Pause-and-scrape habit: for thick blends, stopping once to scrape the sides can dramatically improve smoothness.
Cleaning and Maintenance That Keeps Performance High
For food-handling reminders and general safety guidance, consult authoritative resources like the USDA Food Safety and Inspection Service and the CDC food safety page.
Safety and Food-Handling Basics for Smoothie Prep
Quick Snapshot: 2L Professional Smoothie Blender (Stainless Steel Blades)
At-a-Glance Overview
| Detail | What it means for daily use |
|---|---|
| 2L jar capacity | Fewer batches; useful for families, meal prep, and entertaining |
| Stainless steel blades | Better durability and corrosion resistance for frequent blending |
| Best-use ingredients | Frozen fruit, ice, greens, protein mixes, sauces and dips |
| Typical routine | Pulse to start, then blend steadily; pause once to scrape for very thick mixes |
Shop In-Stock Picks
- 2L Professional Smoothie Blender with Stainless Steel Blades
- 18K Gold Custom Alphabet Initial Necklace
- Square Moissanite Diamond Stud Earrings
FAQ
Can stainless steel blades crush ice and frozen fruit effectively?
Yes—stainless steel blades are well-suited for hard ingredients like ice and frozen fruit. For best results, pulse first to break up the load, make sure there’s enough liquid for circulation, and blend until the sound becomes even for a smoother finish.
How much can a 2L blender jar make in one batch?
A 2L jar can typically make multiple smoothie servings in one run, which works well for families and batch meal prep. Leave some headroom—especially with frozen ingredients—so the mixture can circulate without pushing up against the lid.
What’s the easiest way to clean a smoothie blender after thick blends?
Rinse right away, then add warm water with a drop of dish soap and blend briefly before rinsing again. For lingering odors, an occasional warm-water-and-baking-soda blend helps, and it’s smart to check around the blade and seal area for trapped fibers.










Leave a comment