650 ANSI 4K Projector: Auto Focus & Keystone Setup Tips
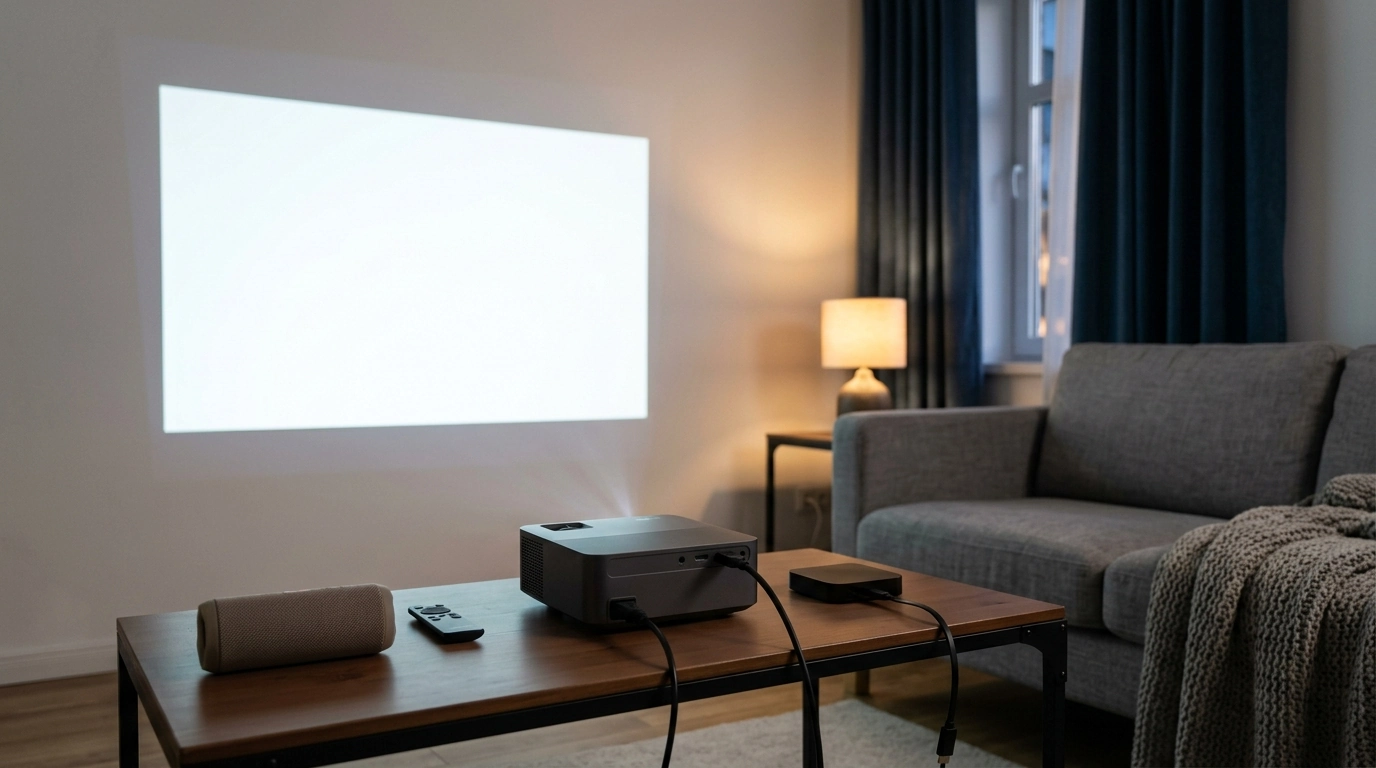
A 4K-capable projector that sharpens the image automatically and squares it up without manual tweaking can turn any wall into a dependable screen in minutes. This guide breaks down what to expect from a 650ANSI projector with auto focus and keystone correction, how to set it up for crisp results, and what to check before buying for your room size and viewing habits.
What This Projector Is Built For
- Fast, low-fuss setup: auto focus dials in sharpness quickly after placement or when the projector is bumped.
- Automatic keystone correction: helps keep the picture rectangular when the projector isn’t perfectly centered.
- Everyday 4K viewing: supports 4K sources and streaming devices for movies, sports, and casual gaming.
- Space-flexible use: works for bedrooms, apartments, dorms, or backyard movie nights when paired with the right screen or wall.
If you like the idea of a big screen without committing to a permanently mounted TV, the 650ANSI 4K Projector with Auto Focus & Keystone Correction is designed for quick “set it down and start watching” sessions—especially in spaces where the projector needs to move from room to room.
Understanding Brightness and Image Quality
- What 650 ANSI lumens means: ANSI lumens is a standardized brightness measurement; it helps compare projectors more fairly than vague “lux” or “LED lumens.”
- Best viewing conditions: brightness like this performs best in dim or dark rooms; ambient light will wash out blacks and reduce perceived contrast.
- 4K support vs native resolution: many compact projectors accept 4K input and downscale; picture clarity will also depend on the projector’s native imaging hardware.
- Color and sharpness: a clean lens, correct throw distance, and a neutral-colored screen/wall can improve perceived detail and color accuracy.
To keep expectations realistic, treat 650 ANSI lumens as “movie night brightness,” not “sunlit living room brightness.” You’ll get the most satisfying results with curtains drawn, lights dimmed, and the projector aimed at a matte white surface. For a quick reference on the measurement itself, see ProjectorCentral’s ANSI lumens glossary.
Connection quality also matters. If you’re using a streaming stick, console, or laptop, a stable HDMI connection is usually the simplest path to consistent 4K input support and audio handling; the HDMI specification overview is a helpful reference when comparing ports and device compatibility.
Auto Focus and Keystone Correction: What They Fix (and What They Don’t)
- Auto focus handles clarity: it targets lens focus, useful for quick repositioning and frequent setups.
- Keystone handles geometry: it corrects trapezoid-shaped images when projecting from above/below or off to the side.
- Limits to expect: extreme angles can reduce usable sharpness because digital correction stretches pixels and may soften edges.
- Tips for best results: keep the projector as level as possible, reduce side-angle projection, and use keystone as a final adjustment rather than the main solution.
Think of auto focus and keystone as “cleanup tools,” not permission to place the projector anywhere. The cleaner the initial placement (centered, level, and at a sensible distance), the less digital correction you’ll need—and the more detail you’ll preserve in text, subtitles, and fine textures.
Quick Setup for a Clean Picture
- Placement: aim for a stable surface; center the lens to the screen area when possible.
- Distance and image size: start at a moderate throw distance, then adjust to the desired screen size without maxing zoom or extreme keystone.
- Run auto focus: let the projector settle for a few seconds before judging sharpness; repeat after moving the unit.
- Apply keystone correction: correct vertical tilt first, then minor horizontal adjustments if supported; re-check focus afterward.
- Audio plan: built-in speakers are fine for casual use, but a soundbar or external speakers typically improves dialogue and bass dramatically.
A practical routine is: place it roughly centered, let autofocus lock in, then make small physical nudges (left/right or up/down) before leaning on keystone. After keystone changes, run focus again if the projector offers it—digital geometry changes can slightly alter perceived sharpness at the edges.
At-a-Glance Checklist
| Use case | What to prioritize | Quick tip |
|---|---|---|
| Movie nights | Dark room, centered placement, external audio | Use a simple screen or matte white wall and keep keystone minimal |
| Sports and TV | Brightness control, easy source switching | Dim nearby lamps and keep a second HDMI device ready (streaming stick) |
| Casual gaming | Lower lag settings (if available), stable connection | Use wired HDMI when possible and avoid extreme digital keystone |
| Portable / travel | Fast autofocus, compact setup, simple audio | Pack a small tripod and a lightweight screen for consistent results |
When This Style of Projector Makes Sense
Shop In-Stock Picks
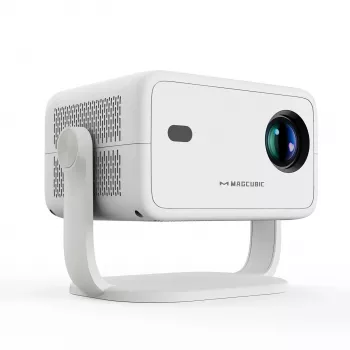
- 650ANSI 4K Projector with Auto Focus & Keystone Correction — a straightforward choice for quick focusing and squaring up the image.
- Square Moissanite Diamond Stud Earrings — a clean, gift-ready accessory option.
- 18K Gold Custom Alphabet Initial Necklace — a personalized piece that pairs well with everyday wear.
FAQ
Is 650 ANSI lumens enough for daytime viewing?
It’s usually best in dim or dark rooms; daytime light and bright lamps can wash out contrast and make blacks look gray. For daytime use, closing curtains and turning off nearby lights helps, but a higher-brightness projector (or a TV) is typically easier to see.
Does keystone correction reduce image quality?
Digital keystone can soften detail because it resamples and stretches parts of the image to fix geometry. For the cleanest picture, level and center the projector first, then use mild keystone only for final touch-ups.
What’s the difference between 4K support and native 4K?
Some projectors accept a 4K signal but display it at a lower native resolution by downscaling. Checking the native resolution in the specs matters most, and perceived sharpness also depends on screen size and how far you sit from the image.









Leave a comment